Printing merchandise seems simple until you are the one doing it: suddenly there are fabric weights, print methods, minimum quantities, and deadlines to juggle. Whether you are a brand owner, an event organiser, or a community leader in Singapore, this guide walks through the decisions that determine whether your merch lands or flops, in the order you will actually face them.
Step 1: Define the Goal and the Audience
Merchandise for sale, merchandise for giveaways, and merchandise for team identity are three different projects. Sale merch must be good enough that people pay for it, which pushes you toward premium blanks and refined design. Giveaway merch prioritises cost per piece and broad sizing. Team merch sits in between, prioritising comfort and a design people are proud to wear. Decide which project you are running before touching a design tool, because every later decision follows from it.
Step 2: Choose Your Products
- T-shirts: the universal default, from budget cotton to heavyweight oversized cuts.
- Hoodies and jackets: higher cost, higher perceived value, ideal for sale merch and premium gifts.
- Polo tees: the corporate and event staple for a sharper look.
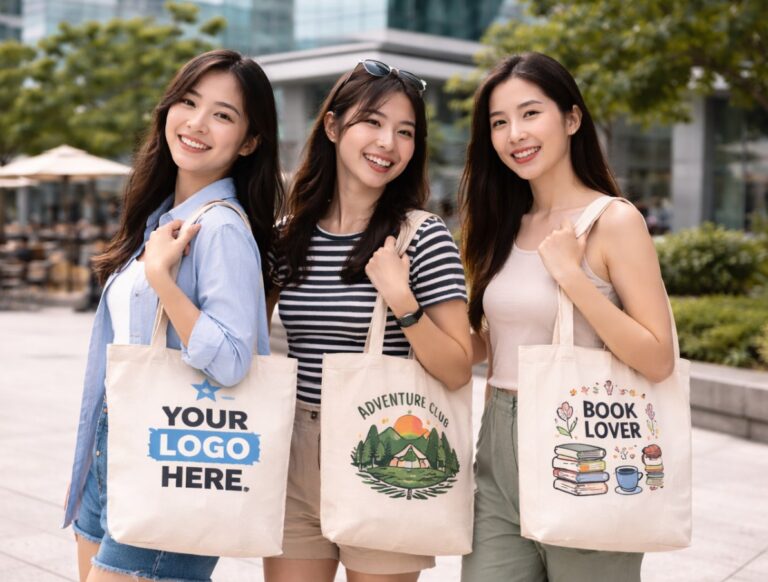
- Tote bags: cheap to print, endlessly reused, excellent for events and giveaways.
- Caps: compact, one-size, and long-lived brand real estate.
Step 3: Pick the Right Print Method
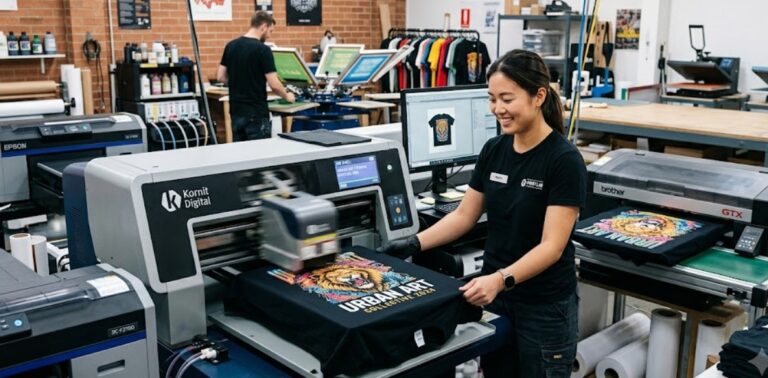
Match the method to your design and quantity. Silkscreen delivers the lowest unit price for bulk orders with few colours. DTG and DTF printing handle full-colour, detailed artwork at any quantity, including single pieces. Embroidery costs more but instantly signals quality on polos, caps, and hoodies. If you are unsure, send your artwork to the printer and ask what they would recommend; the answer reveals a lot about whether they are a partner or just a vendor.
Step 4: Order, Sample, and Schedule
Request a mock-up before production and, for larger or sale-quality runs, order a physical sample. Confirm sizing charts with your audience rather than assuming. On timelines, allow one to two weeks for production plus a buffer, and more during peak seasons. Order a few extra pieces per size; they always find a home.
A Quick Word on Budget
Unit cost is driven by four levers: the blank you choose, the print method, the number of print locations, and quantity. If the quote exceeds budget, adjust in that order. Downgrading from a premium to a standard blank saves the most, followed by simplifying a two-location print to one. Cutting quantity is usually the worst lever, since fewer pieces raises the unit price and undermines the point of the merch. And keep a small contingency, around ten percent, for extra sizes and replacements; it is the cheapest insurance an organiser can buy.
For merch intended for sale, work backwards from your target retail price: unit cost should generally sit at forty to fifty percent of it, leaving room for margin and the occasional discount.
Print Your Merchandise with Shirtual
Shirtual helps brands, companies, schools, and communities in Singapore print merchandise across apparel, bags, and accessories, with honest advice on methods and materials at every quantity. Explore the Shirtual lookbook to see what is possible, and turn your idea into merchandise people actually keep.