Product pictures are one of the most essential parts of any online clothing business. Since you can’t touch or feel the quality of apparel online, pictures are the first things shoppers check from an online store to verify the quality of a product. Knowing that, it’s incredibly important to know how to take pictures of clothes to sell online–even if you’re on a budget.
Over 63% of shoppers see great photos as more important than detailed descriptions. Creating a professional and premium first impression is crucial, but it can be hard to do without the proper resources.
Luckily, businesses like Shirtual offer product photoshoot options for as low as $35, and there are many other accessible ways to take great pictures of your apparel. Consider the following steps while setting up your apparel pictures:
 1")
- Choose your equipment
How can you tell the difference between a professional apparel business online and a secondhand seller or thrift store? The first thing you’ll probably notice is the equipment they’re using when taking pictures of their product. While it’s completely possible to take pictures of products on regular phones, the low-quality images often leave a bad taste in potential clients’ mouths.
It’s worthwhile to invest in a camera or find a phone with specialized lenses for photography purposes. Here are a few good options:
- Canon EOS Rebel SL3: A beginner-friendly DSLR camera that’s lightweight and relatively easy to use. Its touchscreen allows simple adjustments to angle shots, and you can easily upload images online through its wifi connection.
- Canon EOS R50: Content creators and influencers love this mirrorless camera option–for good reason. It has versatile photo and video capabilities and tends to be as durable as it is easy to carry around. Produces fantastic images for good value, though it can be awkward adjusting it to different lenses.
- iPhone 12: While not as advanced as the more recent iPhone versions, the iPhone 12 still has powerful photographic capabilities that shouldn’t be taken lightly. It can adjust to different lighting conditions, flash through different lenses, and even has built-in editing tools for your convenience.
- Samsung Galaxy S10: A less expensive phone option with great photography potential. While not the highest-end phone Samsung has to offer, it still takes great low-light photos and excels in close camera shots many product pictures require.
You can also purchase all of this equipment secondhand if need be. The demands of product photography aren’t as severe as other forms, so a little bit of investment can go a long way.
- Prepare your apparel
Whatever article of clothing you’re setting up, you need to make sure it looks as presentable as possible before the shoot. If you’re taking pictures of graphic shirts, iron out the wrinkles and make sure the print looks spotless. For metal accessories, polish out any blemishes and keep the material clean.
When you’re taking pictures of clothing using higher-end cameras, more details will end up in the final picture. This is why adjusting your apparel beforehand is essential–however, if you do find a mistake in the post-production phase, make sure it’s not anything that Photoshop can’t fix.
 2")
- Create your setup
Your setup decides where you’ll take pictures of your products. While most product pictures take place in studios, you can also choose a private room with decent lighting and neutral backgrounds or a more chic interior that leaves a distinct impression.
Just consider the following before taking your pictures:
- Lighting: What sources of lighting are you taking your picture in?
If you’re in a dim or starkly lit room, you should always have a few artificial lights to control the product’s luster in the final image. A photo studio will usually provide LED panels to fluorescent tubes, but you can also mimic this effect at home or in the office with inexpensive ring lights.
If you don’t have the time or resources to work with artificial lighting, you can also choose a well-lit spot for natural lighting photography. Be sure to set up a neutral-colored backdrop, place it near a window, and stage it when the sun isn’t too bright. Use a diffuser (i.e. a transparent cover) to soften sunlight when necessary. - Background: Most product pictures are set on plain, monochrome backgrounds, though not always. The main goal is to avoid distractions from the central product, but you can use creative backgrounds to further emphasize your brand image in each product. Selling sustainable apparel? Woodsy paneling or natural environments work great. Urban or streetwear? Pavements, concrete, or red-brick walls look fantastic.
- Display your apparel well
Now that you have everything set up, you can start taking pictures of the product itself. How you display your product varies wildly from where you will post the pictures and for what purpose they serve. Consider the following display methods and where they work best:
- Laying out apparel flatly: Putting apparel down on flat surfaces is the most basic form of clothing photography. It’s great for displaying the general appearance and measurements of a product, though it’s not eye-catching all on its own. Best used for product displays on shopping websites.
- Hanging apparel: A second option with a similar use case as laying objects down flatly. This way may be better if you’re struggling to find the right angle or lighting when taking pictures in natural lighting. However, it comes at the risk of creating creases with thinner fabrics.
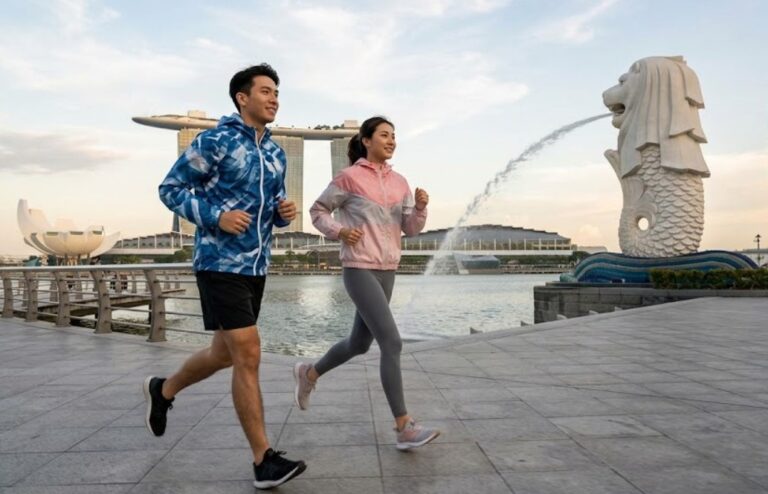
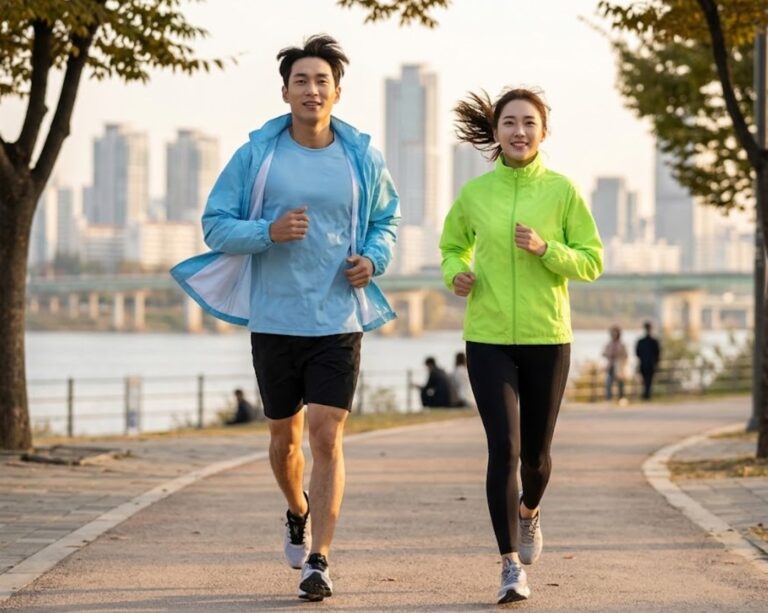
- Using a model: This is the most attention-grabbing way to attract people to your apparel, and comes with a lot of benefits too. Models give your apparel more dimension and a flattering shape, allowing clients to imagine themselves in the clothes. They can be used for personal website and general product displays, but they’re especially good for promotion and social media posts.
- Edit accordingly
You’ve taken your photos–fantastic. Now you can edit them according to your needs. This may require adjusting the colors of your background, saturation, adding further highlights or taking out some blemishes from the product. You’ll likely need Photoshop for this, but the final product should look as sleek as your actual product is.
Looking for more ways to improve your product photography? Considering the amount of equipment and skills needed, it can often be more convenient to outsource your apparel picture needs. Shirtual’s one-stop solutions provides fully-equipped and affordable apparel photography capabilities alongside planning, manufacturing, and distribution needs. Contact us for more ways to boost your brand!